BudgetFilmmaker.co.uk
  • Home
  • Buyers Guides
  • About
  • Support
  • Disclaimer
  • Contact

LanParte TS-02 V2 Lens Support Review

13/8/2013

Comments

 
The LanParte TS-02 V2 is without a doubt the best budget lens support out there. Very well designed, quality build and very good looking too. It's more expensive than most budget lens supports, but I think it's worth it because most importantly it does a cracking job at supporting a telephoto lens. I have one of the cheapest lens supports sold on ebay and it's no where as good as TS-02 V2, so really I should have splashed out on the beauty rather than trying to save as much as I can. Lesson hopefully learned.

Thanks to the guys at www.cinegearpro.com letting be try this out and run some tests with it. You can get the TS-02 from them for pretty much the same price you'd pay on ebay, but with proper customer support and warranty + fast delivery for those of you based in UK. If you are based in London like myself, you visit their showroom to see and try this lens support yourself before handing over your hard earned cash.

If you'd still prefer to get yours on ebay, you can find it here
Comments

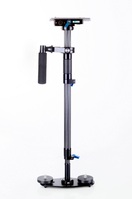
Wondlan Magic Carbon Fiber Stabilizer REVIEW

3/7/2013

Comments

 
This Wondlan Carbon Fibre stabilizer is yet another budget option among ever-growing number of very impressive & affordable stabilizers for DSLRs. It’s very similar to the Flycam C5 which I also reviewed some time ago. Hard to tell which one is better, as both have their own very subtle advantages, both perform almost the same and I think it comes down to which one you can get cheaper, is the one you should go for.

I want to say a big Thank You to my friend Steve from www.jammediacompany.com for letting me borrow this stabilizer for this review.

PictureClick to view this item on ebay
Wondlan Magic Stabilizer on EBAY

Comments

Camtree X2 Follow Focus Review

20/6/2013

Comments

 
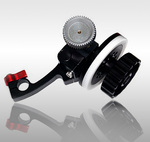
I’m back after a little break with a first of many upcoming reviews. I like trying new follow focus and this one came as part of my Camtree Advanced Hunt FS100 Rig and I decided to review it separately because you can buy these on their own for just $120. 

Pretty much everything that I wanted to say is already in the video. Just one thing I wanted to add to it is that you can flip the gearbox to have correct focusing rotation with both Nikon and Canon style lenses.

I truly think that is must be one of the best follow focus currently out there in this price bracket and I can definitely recommend it.
PictureClick to view this item on ebay
Camtree X2 on Ebay

Comments

WIN HELIOS 135mm f/2.8 LENS

2/5/2013

Comments

 
Picture
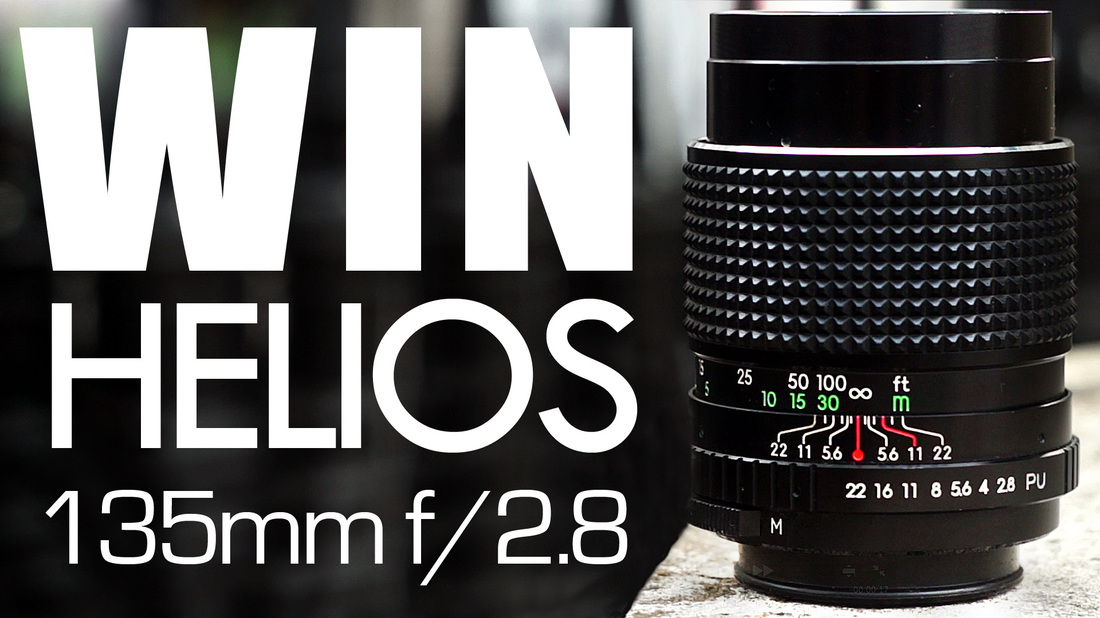
I’ve just started a new Lens Giveaway on www.vintagelensesforvideo.com  so make sure that swing over there and enter to be in with the chance of winning a great Helios 135mm f/2.8 prime lens.
Comments

GINI EXTREME 17 DSLR SHOULDER RIG REVIEW

9/2/2013

Comments

 
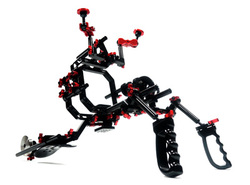
A few weeks ago fellow filmmaker on youtube asked me to review something that I’ve been using for a long time but never got around to reviewing, so here is my review of the GINI EXTREME 17 RIG.

When I bought my first Gini rig, they already were really popular with indie/budget filmmakers and since then they have grown considerably, but with the growth prices went up as well, while competitors keep slashing prices to find the their place in this busy market place. But while prices might not be as crazy low as before. Gini rigs are still so much more affordable than rigs by big European and American brands.

EDIT: the Original EXTREME 17 rig that is more or less the one I actually have appears to be $399, which is the same I paid for mine, link below. The reason why I thought the prices went up is because the new ADVANCED version costs $499. If fact they appear to be better value for money, because both now come with a free follow focus, while mine didn't.

So how does it stack up against a lot of other budget brands that came along in recent years? I haven’t used many other big rigs, so I can only talk about my experience; the review is based purely on my own opinion, so judge it accordingly.

When I bought my first Gini rig (not extreme 17) over 2 years ago, I was blown away but the built quality.  During last 2 years I’ve used Gini rigs for everything from live events and documentaries to short films and music videos. So have I changed my opinion about the quality in 2 years? Is it true that, cheap price means bad quality? How reliable are these rigs? Let me share my thoughts with you.

I bought this Extreme 17 rig on special offer directly from the old Gini website. It cost me just $400 plus postage costs and customs charges, which is amazing price. Something similar from likes of Zacuto would cost over 2000$. I’m sure the Zacuto is a top quality brand, but for that price, is it so much better? I’m not so sure. With the big brands you pay for the name as well as the quality. I’m not saying the quality is not there, but if you know me, I’m all about value for money and I truly believe that I’m getting better value for money with something like Gini.

I absolutely love this rig and you can see my detailed look at every single part of the rig above. The highlights for me are the handles and the shoulder pad, which make this rig an absolute pleasure to use.

What I don’t like about this rig? To be perfectly honest, there is literally nothing that I don’t like about this rig. I don’t like the original base plate (more about it in the video), which I swapped for the older one I had on my first Gini rig, but otherwise it’s great.

How reliable is it? I didn’t have a single problem with this rig so far; the built quality really is great and answering to my own question above: Cheap price doesn’t mean bad quality.

How comfortable is it? As far as shoulder rigs go, this is great. It feels like a proper rig, it looks amazing. I’ve had so many great comments from people seeing my rig on the shoots.  It’s great for getting steady handheld shots with DSLRs, which themselves are not very good cameras for hand-held work. You can evem get decent shots even when walking (see the example in the video). Obviously it’s not as smooth as steadicam, but weight of the rig adds a lot of stability to the shots. You simply can’t shake it as quickly as the camera on it’s own. It’s heavy, but a great shoulder pad and decent balance means that you can have it on your shoulder for a long period of time without getting crazy tired. It’s particularly good for films, music videos, creative work especially if you want to use a follow focus, matte box and other accessories. Such rings are great for this kind of shooting.  For documentary or run&gun work it’s a bit too large, heavy and just no necessary.  Something like a cheap cowboy rig will do just fine for run&gun work.

So should you buy this rig? It all depends on what kind of work you do. It’s great to look cool with a large shoulder rig, but if it makes your life more difficult and you’re not taking a full advantage of its capabilities, then there is no point to use it. If you’re on other hand want/need to use a follow focus, matte box and other 15mm rod compatible accessories while shooting handheld, this rig is probably one of the best budget shoulder rigs out there.

Little note: I'm not in any way associated with GINI, ...which is a shame because these are really nice rigs and I would to have them all :)
Picture
Click to see the this item on www.ginirigs.com
Original EXTREME 17 on www.ginirigs.com (at the time of writing can't find any on the main ebay gini page)

Comments

GINI vs TRUSMT | DSLR CAGE COMPARISON

30/12/2012

Comments

 
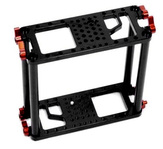
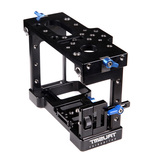
This is what was suppose to be a quick comparison video between my Gini and Trusmt cages. I must say since I bought my one, Gini have changed their cages a bit, so it's not the same any more.

More importantly, the prices have chanced since I bough my cages. The price of Gini went up and the price of Trusmt went down to the point where some cages Gini lists on eBay are more expensive than the Trusmt Ultimate (the one with HDMI clamp) which is $330/£204. You can snap it up even cheaper if you are willing to bid and wait to see if you win it.

Gini cages are now generally listed with higher "buy it now" price, altough the "best offer" option does provide some hope. Gini used to accept offers of 20-30% off the listed price. I don't know that is till the case.

Overall, with all the price changes I think Trusmt is definitely a winner in this comparison, unless you are using a DSLR that will not benefit from its great features.
Picture
Click to view this item on Ebay
GINI DSLR CAGE

Picture
Click to view this item on Ebay
TRUSMT DSLR CAGE

Comments

i-Cuff Viewfinder Eyecup Review

6/12/2012

Comments

 
Picture
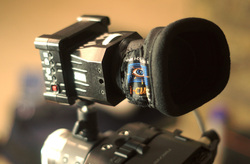
Couple of months ago i-Cuff  sent me one of their unique eyecups designed to improve the experience of using a viewfinder on camcorders or DSLRs (LCD viewfinder).

A lot of filmmakers love to use their Zacuto, CarrySpeed, LCDVF and other viewfinders on their DSLRs. Some literally don’t shoot without them.  People who use ENG style cameras only really ever use viewfinders as it’s the only way of operating the camera properly.

I don’t use viewfinders when I don’t have to, just not my thing. One time though, when I just can’t shoot without a viewfinder even now is when I shoot outside. Even on an overcast day, it helps, on a sunny day it’s literally impossible to shoot properly without one.
Picture
When I first received the i-cuff, I thought that is must be a bit of an unnecessary gimmick, but after using it for a couple of times, especially in a cold weather I changed my mind completely. I mostly use a cheap LCD viewfinder on my 5D and a Zacuto EVF. Both have rubber hoods/eyecups which seemed to be are ok, until I tried the i-cuff.

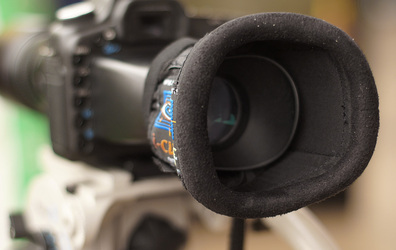
Unlike the rubber eyecups, i-cuff is made of fabric, which is washable, waterproof and works well both with and without glasses. I don’t wear glasses, but I could see how i-cuff could really improve the viewing experience. It wraps around the face much better and you don’t have to press yourself firmly against the viewfinder, which would be very uncomfortable with a common rubber eyecup. Made out breathable fabric it also reduces fogging which is also a common problem with viewfinders.

Picture
The most impressive thing for me is how i-cuff feels against my face in cold winter conditions. For comparison I first pressed my face against the rubber eyecup and then placed the i-cuff on top of it. The difference was massive, rubber gets really cold and very unpleasant in cold conditions; i-cuff though just doesn’t feel as cold, due to it’s soft fabric around the edge that touches the face. It really makes me want to use it every time I shoot outside.
Picture
 It’s one of them simple accessories that actually make a lot of difference.

i-Cuff comes in 3 sizes, DV, HD, & PRO depending on the camera you use.  The smaller one is just $29.95 and the other 2 are $45, so there is literally no excuse not to get one if use viewfinders a lot.

You can check out more info and to order one yourself visit: www.i-cuff.com


Comments

WIN TAMRON 24-48MM LENS | GIVEAWAY

20/11/2012

Comments

 
Picture
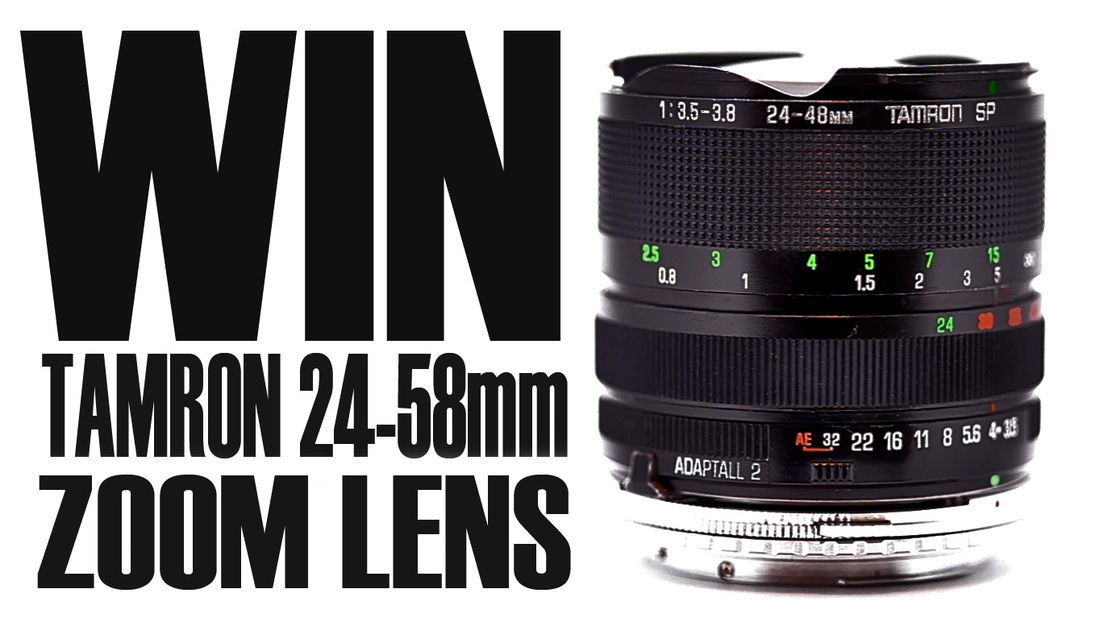
I’ve just started a new Lens Giveaway on my second the website. www.vintagelensesforvideo.com  so make sure that swing over there and enter to be in with the chance of winning a great Tamron 24-48mm wide zoom lens.

Comments

My New Review Lighting Setup | How To Improve Yours

13/11/2012

Comments

 
Click to set custom HTML
I finally have created a dedicated studio style setup for my reviews and other videos. If you like the look that I achieved in the above video, you’ll find this blog post very useful. All the links to the products in this guide are marked in red colour and also can all be found together at the bottom of the post.

My goal was to achieve a minimalistic, low-key look with a soft, but interesting lighting that would make me and the objects I have on the table really stand out from the background.  More importantly the task was to achieve the look at the lowest budget possible. Lucky for me I had most of the things I needed already, but I will share some options with you to help you create similar setup.

Disclaimer (could be boring): You can find the items I’ve used both on Amazon and on Ebay and some even in your local hardware store, but for this guide I will use Amazon links. If you will buy anything that I’ve included in this guide through my links, a small percentage of sale will go my way. This way you’ll be able to help me run the website and produce more useful content by buying what you need. It will not cost you a penny more to buy them through my links, in fact I try to find the best deals, so if anything it will cost you less.

So back to this guide:

First of is a monitor, which is not essential, but is very useful. As I mentioned in the video I used an old Liliput monitor. I generally like Liliput Monitors and have 2 myself.

A similar to one I’ve used only costs just under $170. To be honest I’m not a big fan of the particular model, but it more than suitable for this sort of project.

If you don’t have an HDMI monitor yet and want one for everything I would advice going for 5D-II/O/P model, which works great with DSLRs, has peeking, zebras, false color and even a histogram, all for just under $270. Now this is a great deal.

Next up we have a backdrop. There are loads of options for backdrops, starting from under $20. The size that I have costs just under $18. 6x10 works great for me and will work fine for anyone wanting a similar framing.

I’ve already had some light stands, anything up to 6ft high will do the . If you have them already,  then you will  only need to buy an extending cross bar for the stands. The cheapest I found is $20.

If you don’t have any stands yet, then it’s worth buying a complete backdrop support instead. It will work out cheaper than buying the stand and a cross bar separately. The cheapest backdrop support I found is just under $35.

To secure the backdrop well, just get some cheap plastic clamps, which run for under $5 for a set of 6.

Now you need some back lights. There are plenty of options on Amazon. I even found the light I’m using for my setup.  It’s a Smith-Victor KT-500U kit (2x250w lights). There are plenty of other alternatives too (see below), all costing just around $100.

Moving no to the key light. For my setup I’m using a Camtree BeamLite 72 Flood because it’s quite powerful and I have it already.  To achieve similar soft lighting you don’t have to get the same light and a diffuser.  As an alternative would recommend one of many fluorescent softbox lights. The choice for these is massive, but I would recommend going for something more powerful, definitely no less than 1000w.  One of the best deals that I found is ePhoto 2000w light kit, which comes together with 2 heads, 2 stands,  2 saltboxes, 10 bulbs and even a carry case for the stands. All this for under $130 is pretty amazing considering that 3 times less powerful kit for the back light costs nearly the same.  Here is another alternative for just over $100.

This is about all you need to create this complete setup, assuming you already have some soft of table, chair if you like to sit and obviously a camera.

The whole thing should cost you more than $500 and these are the things that you will be able these for you other projects, especially the lights and the monitor. The actual backdrop support and the cloth is no more than $50, so definitely something worth investing into is you are after a similar look.

I hope this guide was useful to you guys. Any questions, feel free to ask.

Comments

PROAIM STUDIO JIB REVIEW

24/9/2012

Comments

 
The Proaim Studio Jib is my current weapon of choice when it comes to them jib shots on my productions. Very useful, portably addition to my arsenal. I’ve be using it a lot for wedding videos and hope to use it more on music videos and films.

This jib is my first Proiam product I even got. I used to be a bit sceptical about Proiam, but it turned out just fine, everything works as it should, nothing is broken, so all good, really happy with the investment.  I think Jibs, Sliders, Dollies, Stabilizers are some of the best filmmaking tools available and are really worth investing into because the take any video production to the next level.

I’ve signed up for affiliate program on Cinecity.com which is available to everyone (same as Amazon affiliate) and if you’re thinking about buying this jib, please use my link to buy it (directly from cinecity). It will not cost you more, but a little bit will go my way and will help me run the site and do more of similar reviews.
Picture
Buy Proaim Studio Jib

Comments
<<Previous
    Picture
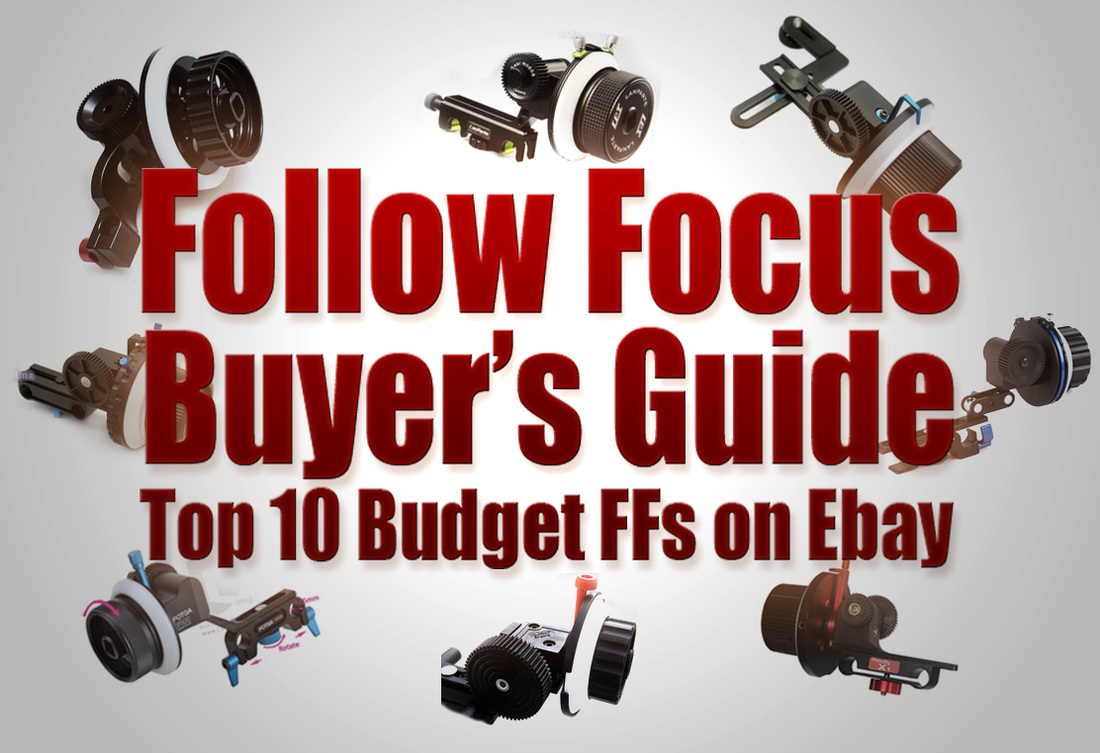
    Click to view Follow Focus Guide
    Picture
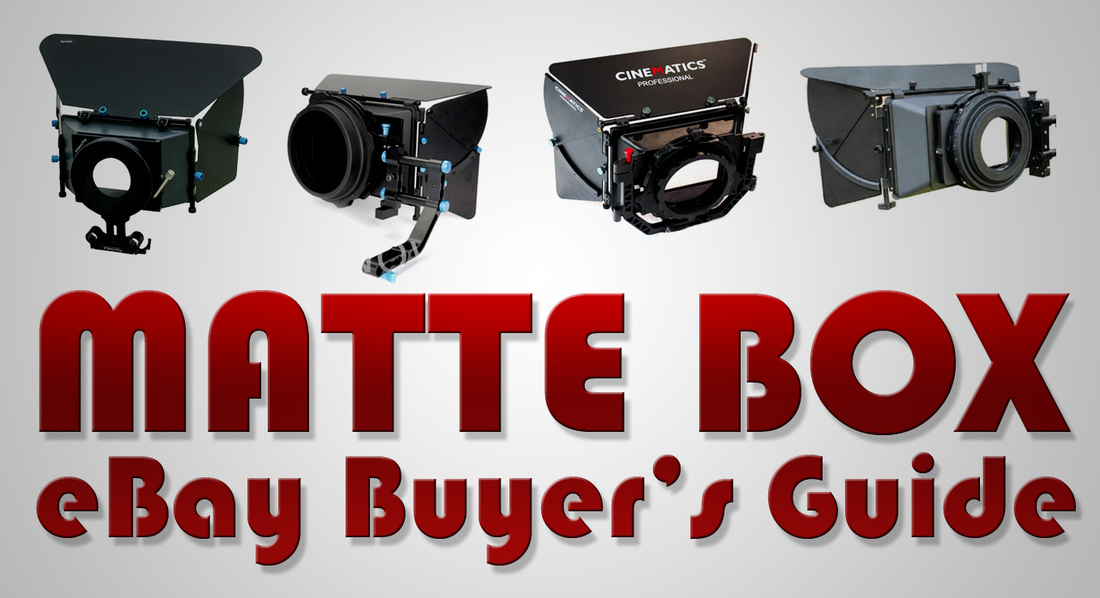
    Click to view the Matte Box Guide
    Picture
    Click to view BF's BIG LED GUIDE

    Categories

    All
    Announcements
    Background
    Buyer
    Buyers Guide
    Camera
    Canon
    Competition
    Dolly
    Dslr
    Ebay
    Ebay Auction Bargains
    Follow Focus
    General
    Gini
    How To
    Jag35
    Lanparte
    Led
    Lens
    Lenses
    Lens Giveaway
    Lens Guide
    Lens Test
    Lights
    Matte Box
    Monitors
    Nikon
    Red
    Review
    Reviews
    Slider
    Sony
    Stabilizers
    Steadicam
    Test
    Trusmt
    Tutorial
    Viewfinder
    Vintage Lenses
    Vintage Video


     Ads:

    RSS Feed


    Goodle Ads
Powered by Create your own unique website with customizable templates.
  • Home
  • Buyers Guides
  • About
  • Support
  • Disclaimer
  • Contact