BudgetFilmmaker.co.uk
  • Home
  • Buyers Guides
  • About
  • Support
  • Disclaimer
  • Contact

My New Review Lighting Setup | How To Improve Yours

13/11/2012

Comments

 
Click to set custom HTML
I finally have created a dedicated studio style setup for my reviews and other videos. If you like the look that I achieved in the above video, you’ll find this blog post very useful. All the links to the products in this guide are marked in red colour and also can all be found together at the bottom of the post.

My goal was to achieve a minimalistic, low-key look with a soft, but interesting lighting that would make me and the objects I have on the table really stand out from the background.  More importantly the task was to achieve the look at the lowest budget possible. Lucky for me I had most of the things I needed already, but I will share some options with you to help you create similar setup.

Disclaimer (could be boring): You can find the items I’ve used both on Amazon and on Ebay and some even in your local hardware store, but for this guide I will use Amazon links. If you will buy anything that I’ve included in this guide through my links, a small percentage of sale will go my way. This way you’ll be able to help me run the website and produce more useful content by buying what you need. It will not cost you a penny more to buy them through my links, in fact I try to find the best deals, so if anything it will cost you less.

So back to this guide:

First of is a monitor, which is not essential, but is very useful. As I mentioned in the video I used an old Liliput monitor. I generally like Liliput Monitors and have 2 myself.

A similar to one I’ve used only costs just under $170. To be honest I’m not a big fan of the particular model, but it more than suitable for this sort of project.

If you don’t have an HDMI monitor yet and want one for everything I would advice going for 5D-II/O/P model, which works great with DSLRs, has peeking, zebras, false color and even a histogram, all for just under $270. Now this is a great deal.

Next up we have a backdrop. There are loads of options for backdrops, starting from under $20. The size that I have costs just under $18. 6x10 works great for me and will work fine for anyone wanting a similar framing.

I’ve already had some light stands, anything up to 6ft high will do the . If you have them already,  then you will  only need to buy an extending cross bar for the stands. The cheapest I found is $20.

If you don’t have any stands yet, then it’s worth buying a complete backdrop support instead. It will work out cheaper than buying the stand and a cross bar separately. The cheapest backdrop support I found is just under $35.

To secure the backdrop well, just get some cheap plastic clamps, which run for under $5 for a set of 6.

Now you need some back lights. There are plenty of options on Amazon. I even found the light I’m using for my setup.  It’s a Smith-Victor KT-500U kit (2x250w lights). There are plenty of other alternatives too (see below), all costing just around $100.

Moving no to the key light. For my setup I’m using a Camtree BeamLite 72 Flood because it’s quite powerful and I have it already.  To achieve similar soft lighting you don’t have to get the same light and a diffuser.  As an alternative would recommend one of many fluorescent softbox lights. The choice for these is massive, but I would recommend going for something more powerful, definitely no less than 1000w.  One of the best deals that I found is ePhoto 2000w light kit, which comes together with 2 heads, 2 stands,  2 saltboxes, 10 bulbs and even a carry case for the stands. All this for under $130 is pretty amazing considering that 3 times less powerful kit for the back light costs nearly the same.  Here is another alternative for just over $100.

This is about all you need to create this complete setup, assuming you already have some soft of table, chair if you like to sit and obviously a camera.

The whole thing should cost you more than $500 and these are the things that you will be able these for you other projects, especially the lights and the monitor. The actual backdrop support and the cloth is no more than $50, so definitely something worth investing into is you are after a similar look.

I hope this guide was useful to you guys. Any questions, feel free to ask.

Comments

eBay LED lights to AVOID

19/2/2012

Comments

 
Picture
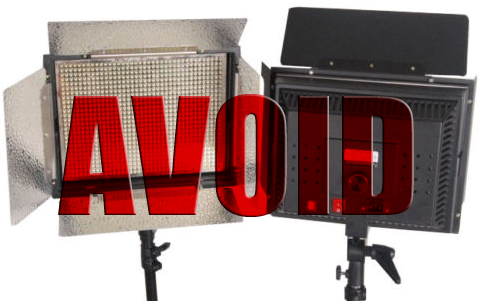
_ I love bargains and this website is all about bargains and getting the most for your money, but sometimes the cheapest indeed means the worst.

In the first edition of my BIG LED LIGHT GUIDE I recommended the china_lighting 520, 1000, 1900 lights, all of the same design. These are sold by other companies too, but all look exactly the same. All of them appeared to offer the best value for money, so I bought the one that I thought gave me the most for my buck, the 1900LED. Unfortunately I turned out to be a big disappointment, even though it’s cheap. I foolishly thought that 1900 will give be almost 4 times more power that a 500LED that I bought before it. Well, the LEDs on 1900 are much smaller that the ones on 500LED, so don’t except crazy power from it. It’s no more that twice as bright. This is nothing really comparing to the other problems with the light.


Read More
Comments

BIG LED LIGHT GUIDE (completely new second edition)

19/2/2012

Comments

 
Picture
_ Welcome to my BIG LED GUIDE (Second Edition). The main reason for making a new edition on my now 3 months old B.L.G (First Edition) is because I bought one of the lights I used to recommend the most and unfortunately it turned out to be crap, so the whole guide had to be changed, because all the similar lights got scraped from the guide. Some others are not available any more and I’ve added a few new ones. Overall, I think the Second Edition is much better than the first and it also has all the latest prices and best deals at the time of writing. Hope you’ll find it useful.


_ LED Into: LED lights are really “hot” nowadays. They are lightweight, heat-free, low on power consumption and also quite cheap, making them great value for money. I’m a big fan a I have a few myself. The cheapest around come from China, Honk Kong and India. A lot of them seem to be exactly the same, just branded under different names. I’ve now tried quite a few, so I can recommend, some others should be avoided. 

How this guide works: You will find links for every light below (everything in red or just click the picture).  Some are general search links, others specific links of the best priced deal I found at the time of writing. Chances are that some of the listings will end by the time you read this, so just do a search on the particular shop to see if it got relisted the item or search for similar elsewhere on Ebay.

I haven’t tried all of these lights, so my guide is mostly based on features and prices as well as my personal experience on the ones I tried and also the advice from other filmmakers.  Treat this guide as a starting point and make your own decision depending on what you need.


Read More
Comments

CAMTREE 600 LED VIDEO LIGHT REVIEW

15/10/2011

Comments


Camtree 600 LEDs were one of the cheapest around when I originally bought them and I have to say, they are great value for money, especially if you compare their price to LEDs from some top brands. I’m not saying the high end LEDs are bad or that they are bad value for money, but for a Budget Filmmaker like myself, they are simply pout of reach. 

Now that I used my LEDs on couple of shoots I can go through a few more points not covered in original review.

Recently I shot a music video mostly just using these lights with a 1k generator. What is so good about such lights is the incredibly low power consumption. According to specs it only draws 30W maximum with luminous efficiency equivalent to 500W tungsten light, which is absolutely incredible. I was able to use this very nice compact generator (of course bough on eBay) to power 2 of these light + 2 small fluorescent lights and they were barely drawing any power at all. I was getting 1000W of light while only drawing 60W form a generator. Imagine how many lights you could use with just this small 1K Generator.  If I was using the common tungsten lights with this generator, the best I could get out of it would be 800w from a redhead, or 1K at very best. I’ve worked out how much I power I could potentially get out of LEDs drawing up to 1K from a generator. According to simple calculations, I could power 33 x 600LED lights, giving me 16.5K of light!!!! Crazy amount of light and somehow I just don’t believe 1K generator would hold up, although theoretically it should.  Even then, it should easily handle 10x600LED lights still giving 5K of power, so if you are in situation where you have a limited amount of power, of just investing into your own lighting and possibly a portable power source, LEDs and a small generator could be much cheaper, lighter, more portable and cheaper solution than using common tungsten lights which require loads of power, excluding a lightweight power source like a 1K generator.

Now couple of bad points I picked up about these and maybe a lot of similar LEDs, (all seem to be produced in the same way). The power cord/cable is too short when light is fully extended and the power adapter is left dangling in the air, weighting the cable down putting a lot of pressure at the point when you plug in the cable into the light. The socket on the light is not designed for heavy use and when moving the lights about cable quite easily pops out, which can be very annoying.  Two solutions to this problem are: plug in the cable and put tape around socket (not very secure), second is to tape the power adapter to the stand, so there pressure to the power socket on the actual light, the power adapter takes all the pulling around which is fine, because it has much better, heavy duty 3 pin plug connection. As I said, cables are too short, so each light needs it’s own extension cord to use properly. I think similar problems will be found in most budget LED lights, because most seem to be designed  in the same way.

As you can see in the video, my LEDs don’t have any barn doors, which is a shame, I miss them and would love to have them. At the time when I bought mine, Camtree were only making them without barn doors. Now all of them have barn doors, so you will not have such problem.

I do recommend these lights, a kit of 2 is a good start, although I’m already looking at possibility of buying a third one, so I’m currently doing a lot of research on different LEDs currently available.

I will be posting a big article soon, covering all the best choices currently available on eBay, so if you are thinking of investing into LEDs, make sure to check back soon


Picture
Click to view this item on eBay
Camtree 600 LED Lights on eBay

Comments
    Picture
    Click to view Follow Focus Guide
    Picture
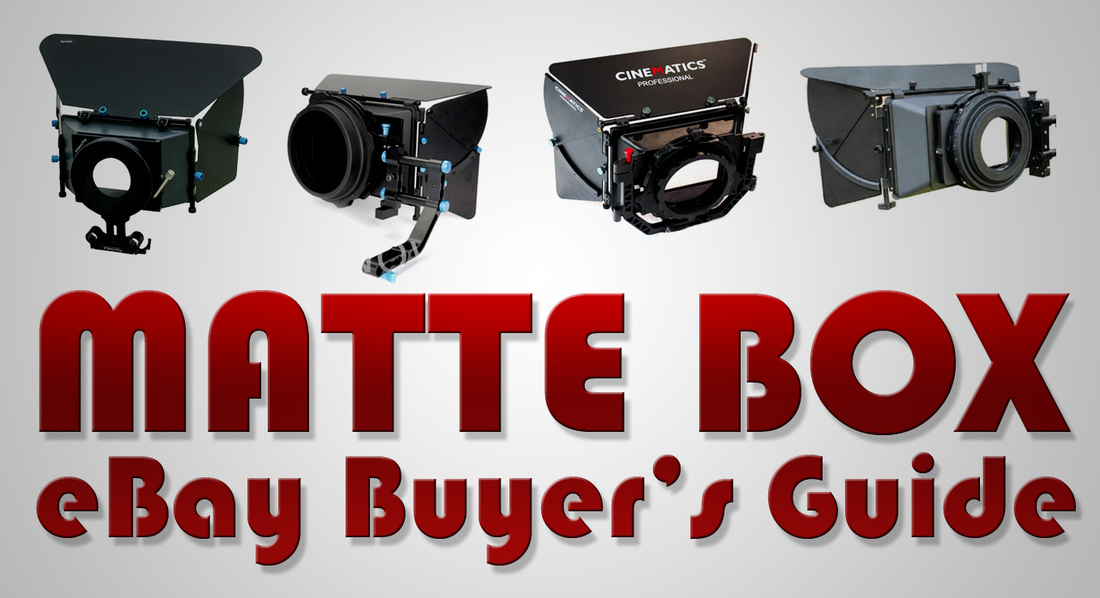
    Click to view the Matte Box Guide
    Picture
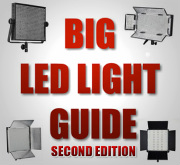
    Click to view BF's BIG LED GUIDE

    Categories

    All
    Announcements
    Background
    Buyer
    Buyers Guide
    Camera
    Canon
    Competition
    Dolly
    Dslr
    Ebay
    Ebay Auction Bargains
    Follow Focus
    General
    Gini
    How To
    Jag35
    Lanparte
    Led
    Lens
    Lenses
    Lens Giveaway
    Lens Guide
    Lens Test
    Lights
    Matte Box
    Monitors
    Nikon
    Red
    Review
    Reviews
    Slider
    Sony
    Stabilizers
    Steadicam
    Test
    Trusmt
    Tutorial
    Viewfinder
    Vintage Lenses
    Vintage Video


     Ads:

    RSS Feed


    Goodle Ads
Powered by Create your own unique website with customizable templates.
  • Home
  • Buyers Guides
  • About
  • Support
  • Disclaimer
  • Contact