To celebrate my new website, vintagelensesforvideo.com, I’m doing a biggest lens giveaway so far, giving away 6 lenses, so the chance of winning is better than ever!
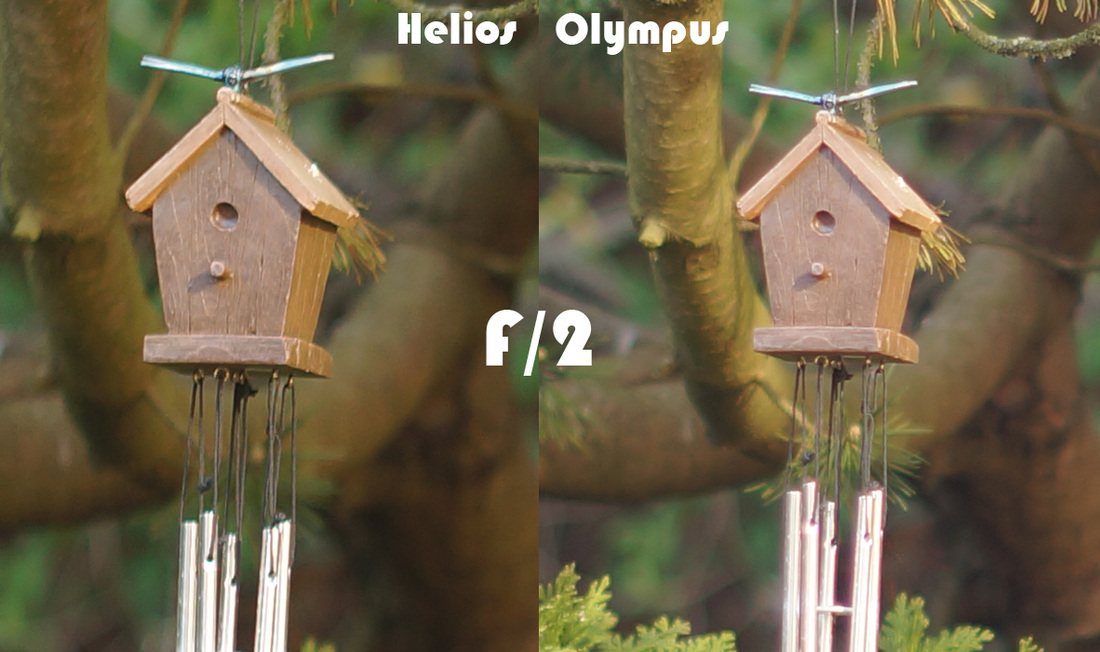
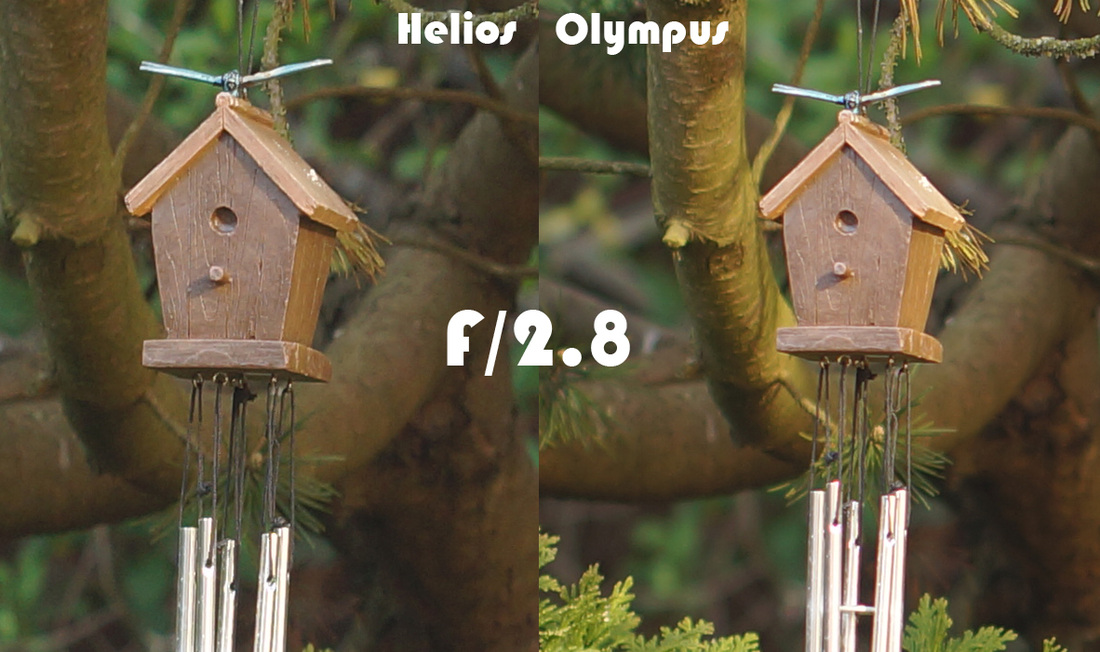
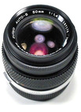
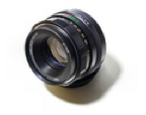
The lenses I’m giving away are Helios 58mm f/2 primes. They are great for low light and archiving a very nice, shallow depth of field and beautiful, dreamy flares. I’ve tested these lenses and I was really impressed with the performance, in fact it’s currently one of my favourite budget lenses. You can check out the test videos on my youtube channel if you haven’t done it already.
To find out more about more and enter the giveaway, visit just clear here or head over to vintagelensesforvideo.com


 RSS Feed
